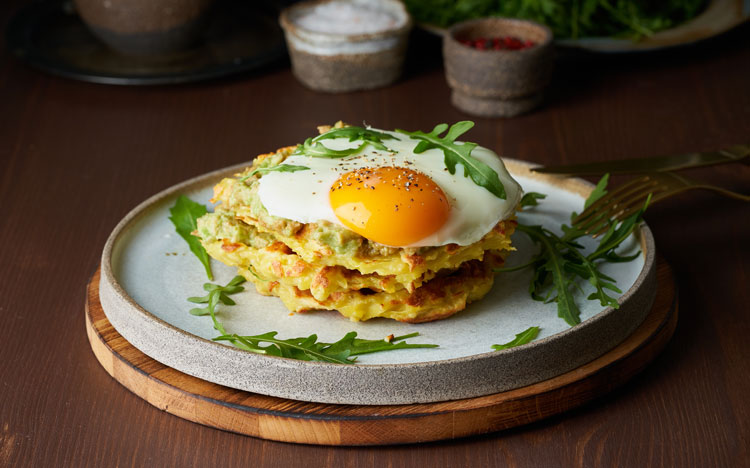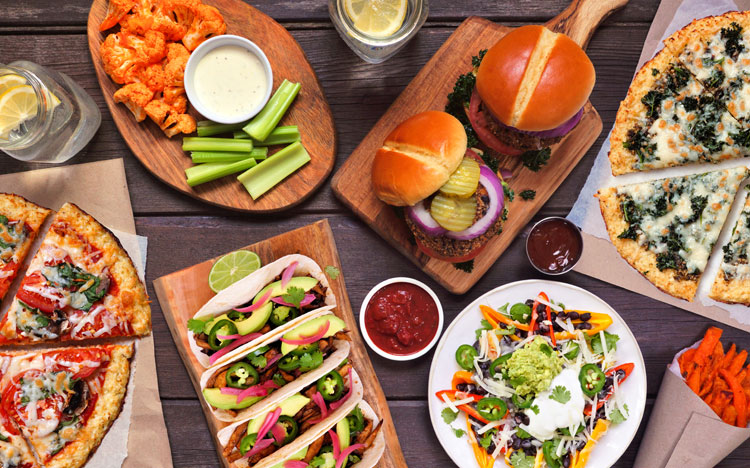
And just like that, winter’s upon us. The colder weather means more time inside, staying cozy, and of course — ‘tis the season for comfort food. During this time of year, customers crave their familiar favorites like donuts, waffles, pizza, and grilled cheese. Pair this with a particularly trying year and customer cravings for their favorite feel-good foods are likely through the roof.
Lucky for them (and you), we’ve got the ultimate all-in-one solution for crowd-pleasing comfort foods. With the Hatco/Suntec Snack System, you can whip up the classics or make new belly-filling creations to satisfy customers when they need it most. From breakfast to dessert and everything in between, there’s something for everyone.
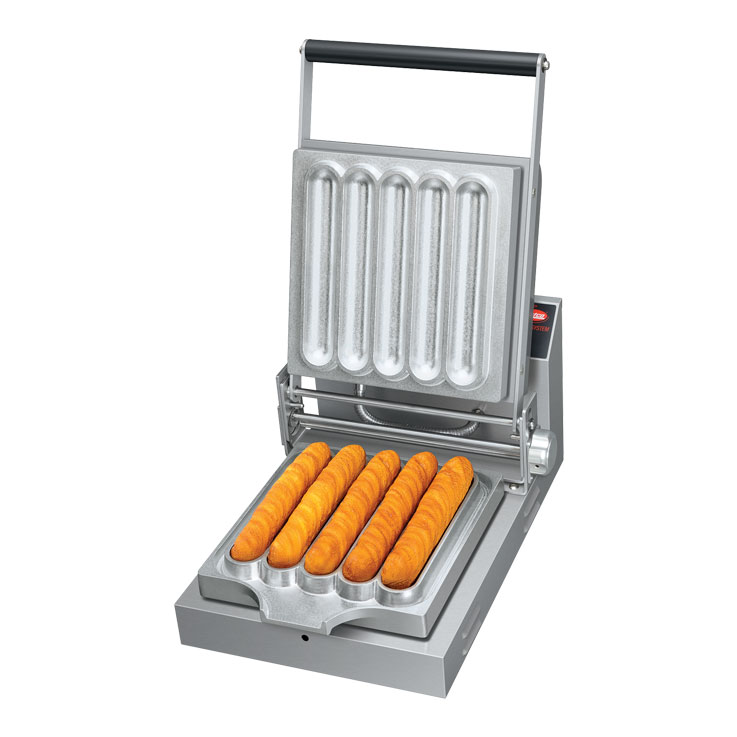
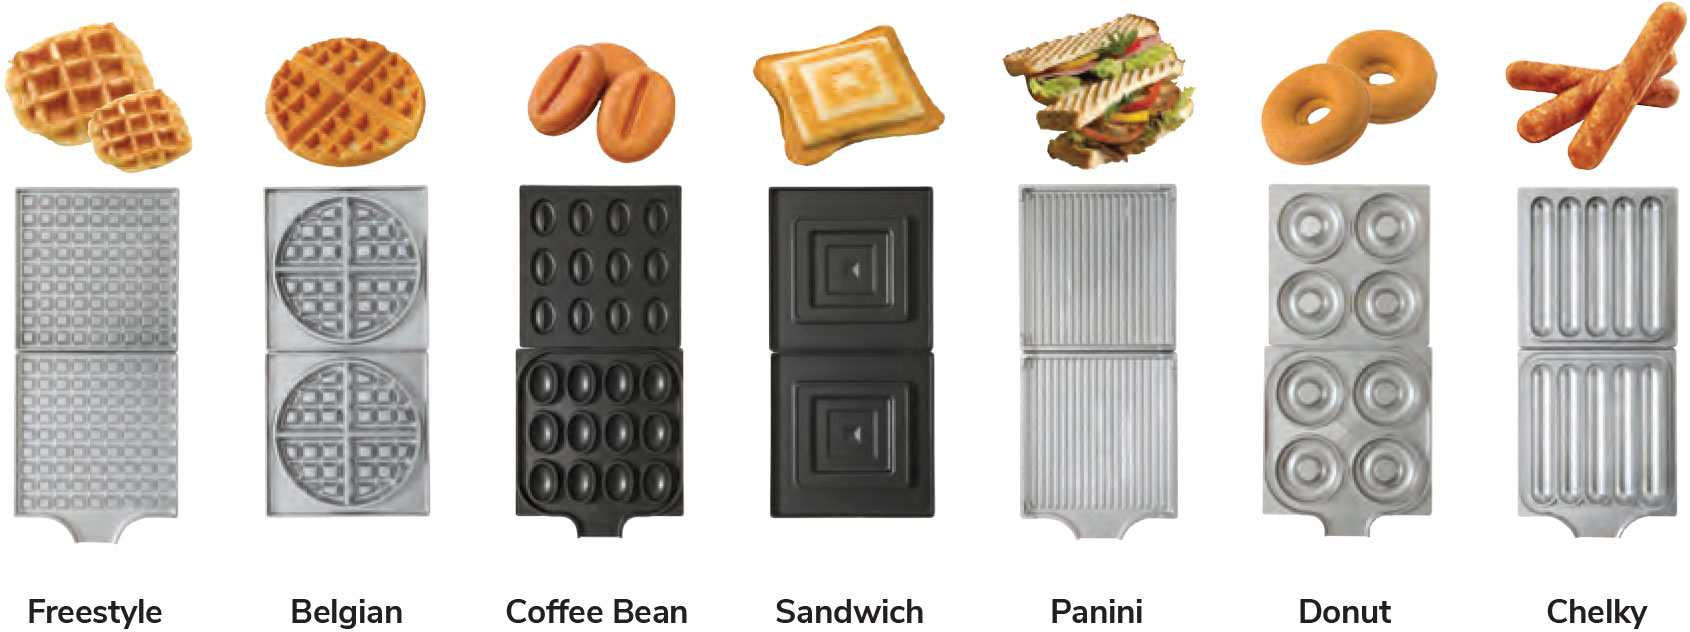
Seven interchangeable plates for endless possibilities
We’re going to share some scrumptious recipes, but before we do, you may be wondering “How is it possible to create so many comfort food options with just one piece of equipment?” Here’s our secret: plates. The Snack System has seven removable plate sets, so you can shift on a dime from savory meals to sweet treats (and back again). Available in a variety of molds (pictured below), the Snack System makes it possible to cook a wide variety of comfort foods.
Now let’s dig into some of the delectable dishes below!
Breakfast anytime
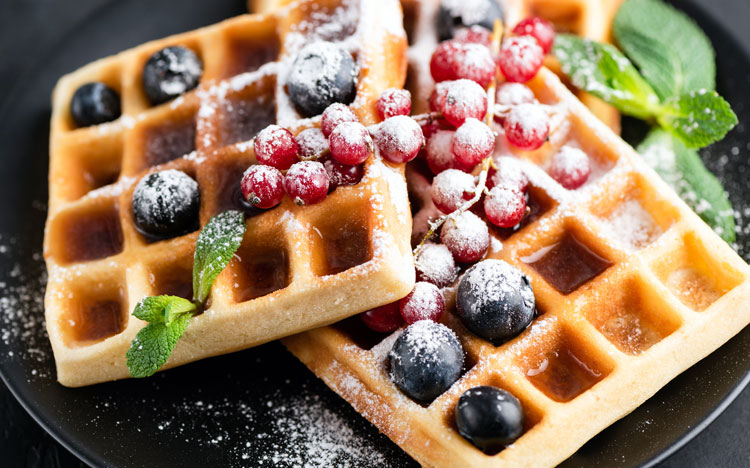
The ultimate all-day breakfast option, waffles are a hit at any hour of the day. If your guests have a hankering for a sweet breakfast treat, the sky is the limit with the Snack System. Whether guests are craving chocolate chip, blueberry, or traditional Belgian waffles, the Snack System’s Freestyle and Belgian Waffle plates allow cooks to get creative. But, we realize that sweet waffles aren’t everyone’s schtick, so consider adding savory waffle options to the menu too. There’s no shortage of clever savory options, such as waffled falafel and waffled pizza, and many of them can be served for breakfast or lunch. Come up with your own mouth-watering recipes, or turn to one of our all-day breakfast favorites:
Sweet Waffles
Serves: 4
Plates: Belgian or Freestyle
Temperature: 370 °F (190 °C)
Time: 3 minutes and 30 seconds
Power setting: 10
Ingredients:
- 3 large eggs
- 1½ cups milk
- 1 teaspoon apple cider vinegar or white distilled vinegar
- ½ cup canola oil
- 1 teaspoon vanilla extract
- 1 tablespoon granulated sugar
- 1¾ cups all-purpose flour
- ¼ teaspoon salt
- 2 teaspoons baking powder
- 1 teaspoon baking soda
- Food release spray or vegetable oil
- Maple syrup or other tasty toppings
Directions:
- Install desired Snack System plates.
- Program or select preset at the recommended temperature, time and power setting.
- Preheat Snack System.
- In a large bowl, whisk together the eggs, milk, vinegar, oil, vanilla and sugar until creamy.
- Add the flour, salt, baking powder and baking soda. Mix until combined, taking care not to overmix.
- Coat plates with a food release agent.
- Ladle in enough batter to fill the bottom plate.
- Close the Snack System and press “start.” When the beeper sounds, press “end” and remove the waffle. Drizzle with syrup or other toppings. Serve immediately.
Lunch and dinner recipes
When you want to transition to lunch or dinner, you can go on a comfort-food-serving spree thanks to the Snack System’s interchangeable plates. Whether you want to serve up a classic grilled cheese, or a crowd favorite like a Cuban or stuffed pizza, the Snack System makes it all possible. Here are recipes for two of our favorite savory standbys:
Grilled Cheese “Toasty” Sandwich
Serves: 1
Plates: Sandwich
Temperature: 340 °F (170 °C)
Time: 3 minutes and 30 seconds
Power setting: 10
Ingredients:
- 2 slices of white bread
- 2 slices of Swiss cheese
- Mustard to taste
- Mayonnaise to taste
- Food release spray or vegetable oil
Directions:
- Install Sandwich plates.
- Program or select preset at the recommended temperature, time and power setting.
- Preheat Snack System.
- Sandwich the cheese between the bread.
- Add mustard and mayonnaise to taste.
- Coat the plates with food release agent.
- Close the Snack System and press “start.” When the beeper sounds, press “end” and remove the sandwich. The edges of the bread should be sealed shut, creating a delicious handheld snack. Serve immediately.
Calzone Stick
Plates: Sandwich
Temperature: 375 °F (191 °C)
Time: 4 minutes and 30 seconds
Power setting: 10
Ingredients:
- Favorite pizza dough (2 lb., rolled thin); serves approximately 8 calzones per lb.
- Choose your favorite fillings, such as:
- Meats: salami, pepperoni, precooked and drained bacon, ham, chicken, Italian sausage, steak strips, or meatballs
- Cheese: mozzarella, parmesan, sharp cheddar, ricotta, feta, or goat cheese
- Veggies: precooked and drained-mushrooms, bell peppers, pepperoncini, spinach, red onions or marinated artichoke
- Marinara sauce, ranch or other dips (optional)
Directions:
- Install Sandwich plates.
- Flour a clean surface and rolling pin.
- Roll out pizza dough thinly (no knead, no rise pizza dough is great).
- Cut into 4-1/2” x 7-1/2” rectangles.
- Lay out your choice of fillings but leave about 1/2 inch shy of the edges.
- Wet the edges, bring the other side of the dough over, and seal all ends.
- Close the lid and press “start.” When the beeper sounds, press “end.” Check until it’s golden brown (cook times can vary with ingredients and amount of fillings).
- Let it cool for a few minutes before serving.
Desserts
Last but not least, let’s move on to the sweet treats. Whether you want to come up with your own confection or stick to a staple, there are dessert options aplenty with the Snack System. Below are a couple of sure-to-satisfy dessert options.
Brownie Donuts
Serves: 4
Plates: Donut
Temperature: 325 °F (163 °C)
Time: 4 minutes
Power setting: 8
Ingredients:
- 1 box Ghirardelli Brownie Mix
- ⅓ vegetable oil
- ¼ cup water
- 1 large egg
- Powdered sugar
Directions:
- In a bowl, mix all of the ingredients together well with a spatula.
- Install Donut plates.
- Pour the contents of the bowl into donut holes on one Donut plate.
- Bake at 325°F (163°C) for 35-40 minutes.
- Close the lid and press “start.” When the beeper sounds, press “end.”
- Check brownie doughnut for doneness. Insert toothpick and if it comes out clean, remove donuts and place them on a cooling rack.
- Dust donuts with desired amount of powdered sugar.
Peanut Butter and Jelly Chelky
Serves: 10
Plates: Chelky
Temperature: 310 °F (154 °C)
Time: 6 minutes
Power setting: 3
Ingredients:
- 1 package of Pillsbury™ breadsticks
- Peanut butter
- Jelly
- Non-stick cooking spray
- Powdered sugar (optional)
Directions:
- Install Chelky plates.
- Program or select preset at the recommended temperature, time and power setting.
- Unroll breadsticks.
- Spread peanut butter and jelly on the surface of the breadsticks, leaving ⅛” edge.
- Roll up the breadsticks and pinch them closed.
- Spray Chelky plate with non-stick cooking spray.
- Close the Snack System and press “start.” Cook breadsticks on power setting 3 at 310 °F (154 °C) for 6 minutes, but check periodically after 4 minutes to ensure they don’t brown too quickly. When the beeper sounds, press “end.”
- Remove Chelky bars with a skewer and place on a cooling rack. Allow to cool.
- Dust with powdered sugar (optional) .
Cutting Diagram

Find out why the Snack System is the king of comfort food.
While these are some menu items that are sure to be a hit with your customers, we’re just getting started. A jack of all trades, the Snack System can accommodate all sorts of recipes. And thanks to its endless comfort food options, the Snack System is sure to make this winter even cozier. To learn more about the Snack System’s capabilities, check it out here!