When it comes to ordering a decorative lamp, the options can be overwhelming. And in many cases, orders are custom-built and non-refundable. To get your order right the first time — and ensure you don’t end up with any expensive surprises — figure out exactly what you need.
Make sure you’re on the right track by completing these three foolproof steps before placing your order.
1. Ask the right questions
To get started, narrow down your needs by asking key questions. For example, is lighting your primary concern, or heat? Or perhaps a combination of the two? Your answers will help you hone in on which equipment you need:
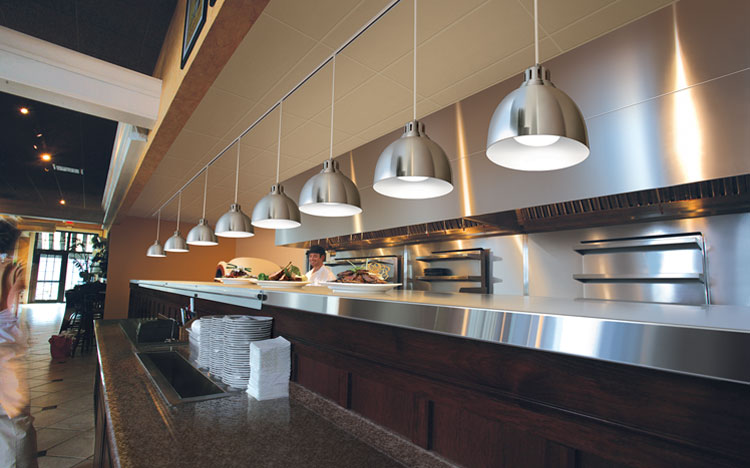
- Decorative heat lamps: A two-for-one deal, decorative heat lamps provide light and heat for a busy kitchen. If you need to briefly hold food warm at various serving stations and enhance your decor at the same time, these are the perfect dual-purpose solution.
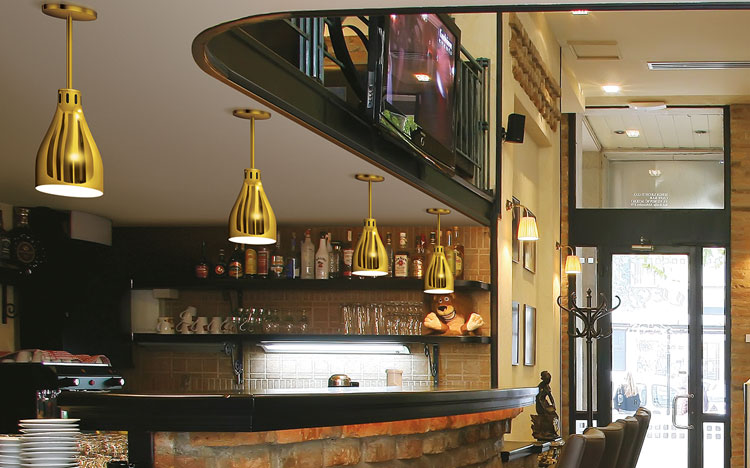
- Luminaires: A close cousin to decorative lamps, luminaires provide decorative lighting, but without the heat. If you’re looking for accent lighting or illumination throughout the front of the house, such as above tables or at the hostess stand, luminaires are the way to go.
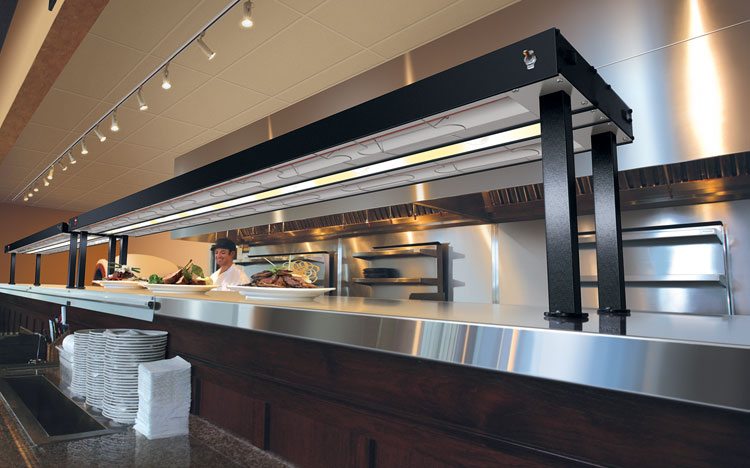
- Strip heaters: If your primary concern is keeping plates heated during peak serving times, strip heaters will do the trick. Strip heaters can accommodate a high volume of hot plates, and ensure maximum food holding time without overcooking food.
2. Take measurements for your decorative lamps
Now that you’ve narrowed down your needs, it’s time to take some measurements. Getting this step right is one of the biggest areas, if not the biggest area, where customers go astray. It also happens to be one of the most critical elements to ensuring lamps do their job effectively. If you’re in the market for a luminaire or a decorative lamp, you’ll need to get the length of the lamps right. To do this for a vertical mount, measure from your mounting surface (e.g., ceiling or wall) to the bottom of the shade. For a horizontal mount, measure the length of the shade, as well as the distance from the mounting surface to the middle of the shade top. Then add those together! Finally, turn to step five of our Build-A-Lamp tool to confirm measurement options.

3. Provide the right specs
Speaking of the Build-A-Lamp tool, here’s where it really comes in handy. Beyond measurements, you’ll have to make several spec-related decisions to fine-tune your customization. While you may need to put in some extra time upfront to do your homework, our interactive Build-A-Lamp tool will save you time by walking you through the selection process step-by-step. And the best part? We offer end-to-end customization that you can't find elsewhere, so you can create lamps that are custom-fit for your specific commercial foodservice needs. To prepare your order, you’ll need to gather the following specs:
- Electrical: If you need a luminaire (lighting only), you’ll select your desired wattage (max of 200). If you’re in the market for a decorative lamp, you’ll select voltage and wattage. Once you make your voltage selection, the interactive tool will automatically display your wattage options.
- Mounting Style Code: This step includes visual aids, so you can find a mounting option that works with your setup. There are a range of mounting options, including cord mounts, retractable cord mounts, rigid arm mounts (for wall lamps) and rigid stem mounts (for ceiling lamps).
- Switch Location Code: In this step, you’ll select whether you want a switch directly on the lamp, or a remote switch. When making this selection, there are a few factors to consider. First, what would be most convenient for the staff? If you have multiple lamps, a remote switch will be more practical, and less time-consuming. However, if you choose to go with switches directly on the lamp, make sure they’re easily accessible. Next, consider your design. If you prefer to keep the switches concealed for aesthetic reasons, remote switches are the answer.
- Shade Style Code: Time for design fun. In this step, you can choose from a range of shade styles to match your overall look and feel.
- Shade and Canopy Colors: And more fun! This step includes a rainbow of color options so you can pick the shade that works with your design scheme.
- Optional Cord/Track Color: Choose a cord color from black or white to ensure a seamless integration into your overall design.
- Accessory Bulb Color/Coating: If you want to add a coating to your bulb, you’ll make that selection here. If you’re going for a softer lighting effect, coating is the ticket. Then you’ll need to choose between clear or red bulbs. While they provide the same level of heat, red bulbs are designed to produce less visible (more subtle) light.
- Overall Unit Length: Here’s where the measurements come in. Based on the measurements you’ve taken, you’ll need to choose the length that best suits your space. Keep in mind: If you choose a rigid mount, it’s critical to get the exact overall length, since it cannot be changed during installation. Triple check this measurement to avoid unnecessary returns!
- Clearance: Clearance refers to the distance between your bulb and surrounding surfaces, which includes all surfaces that you’re illuminating and/or heating. To make sure you have sufficient clearance, follow these requirements:
- Standard bulb (120 volts/250 watts): Install no closer than one inch from sidewalls, 16 inches above a combustible surface, and 5 inches to a non-combustible surface.
- High wattage bulb (120 volts/375 watts): Install no closer than one inch from sidewalls, 27 inches above a combustible surface, and 5 inches to a non-combustible surface.
- Multiple installations (decorative lamps): Keep a minimum clearance of 12 inches between each unit. Measure from the center of the shades.
We’re here to help!
Congrats, you’ve made it through the preparation work! Once you’re ready to place an order, reach out to a Hatco dealer or rep near you (if you don’t already have one). And if you have additional questions, we’re here for you. We know there are many variables to consider when getting your decorative heat lamp just right, and we’re dedicated to helping every step of the way!